Admin
-
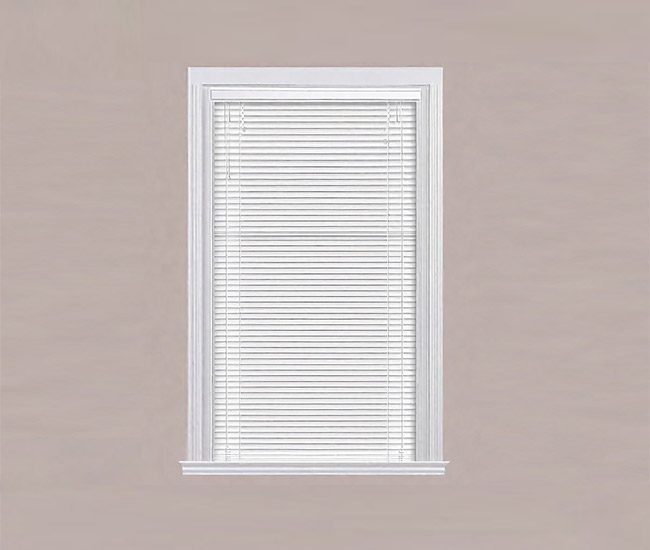
How Do You Shorten Window Blinds? 7 Easy DIY Steps
More Details: How Do You Shorten Window Blinds? 7 Easy DIY StepsHave questions about shortening the length of your window blinds? If your window blinds are so lengthy that they look bad and create a safety issue for young children, you can easily resize them to desired length yourself in 7 easy, DIY steps, such as: Determine the desired length Remove the plugs Remove the extra…
-
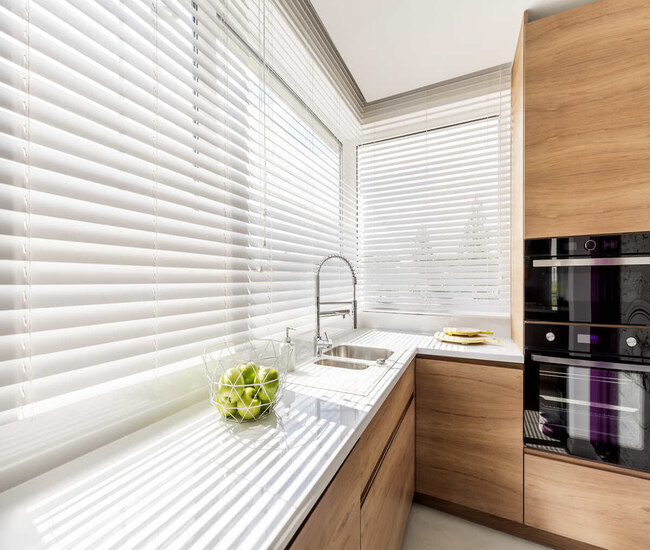
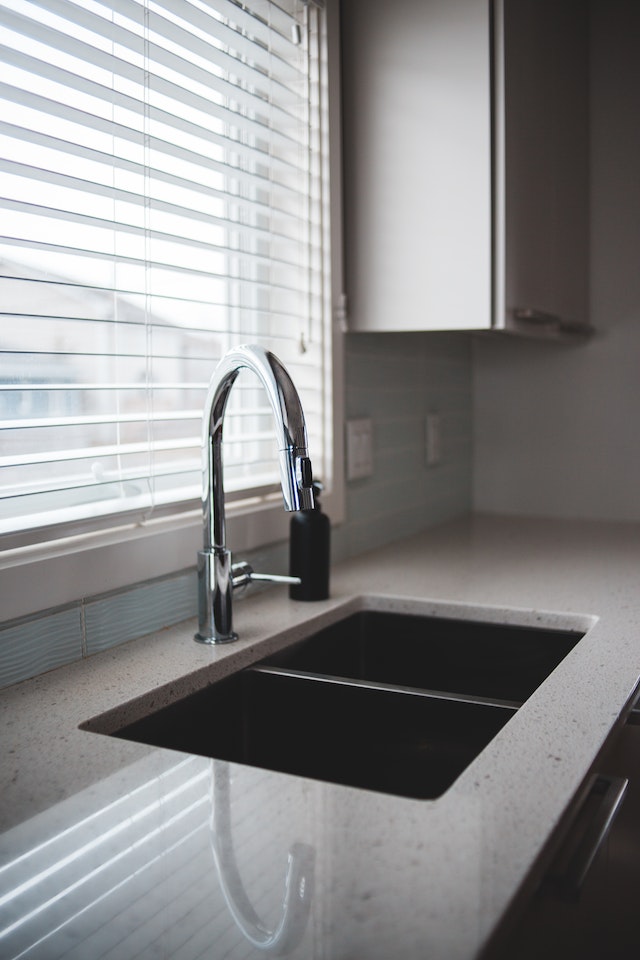
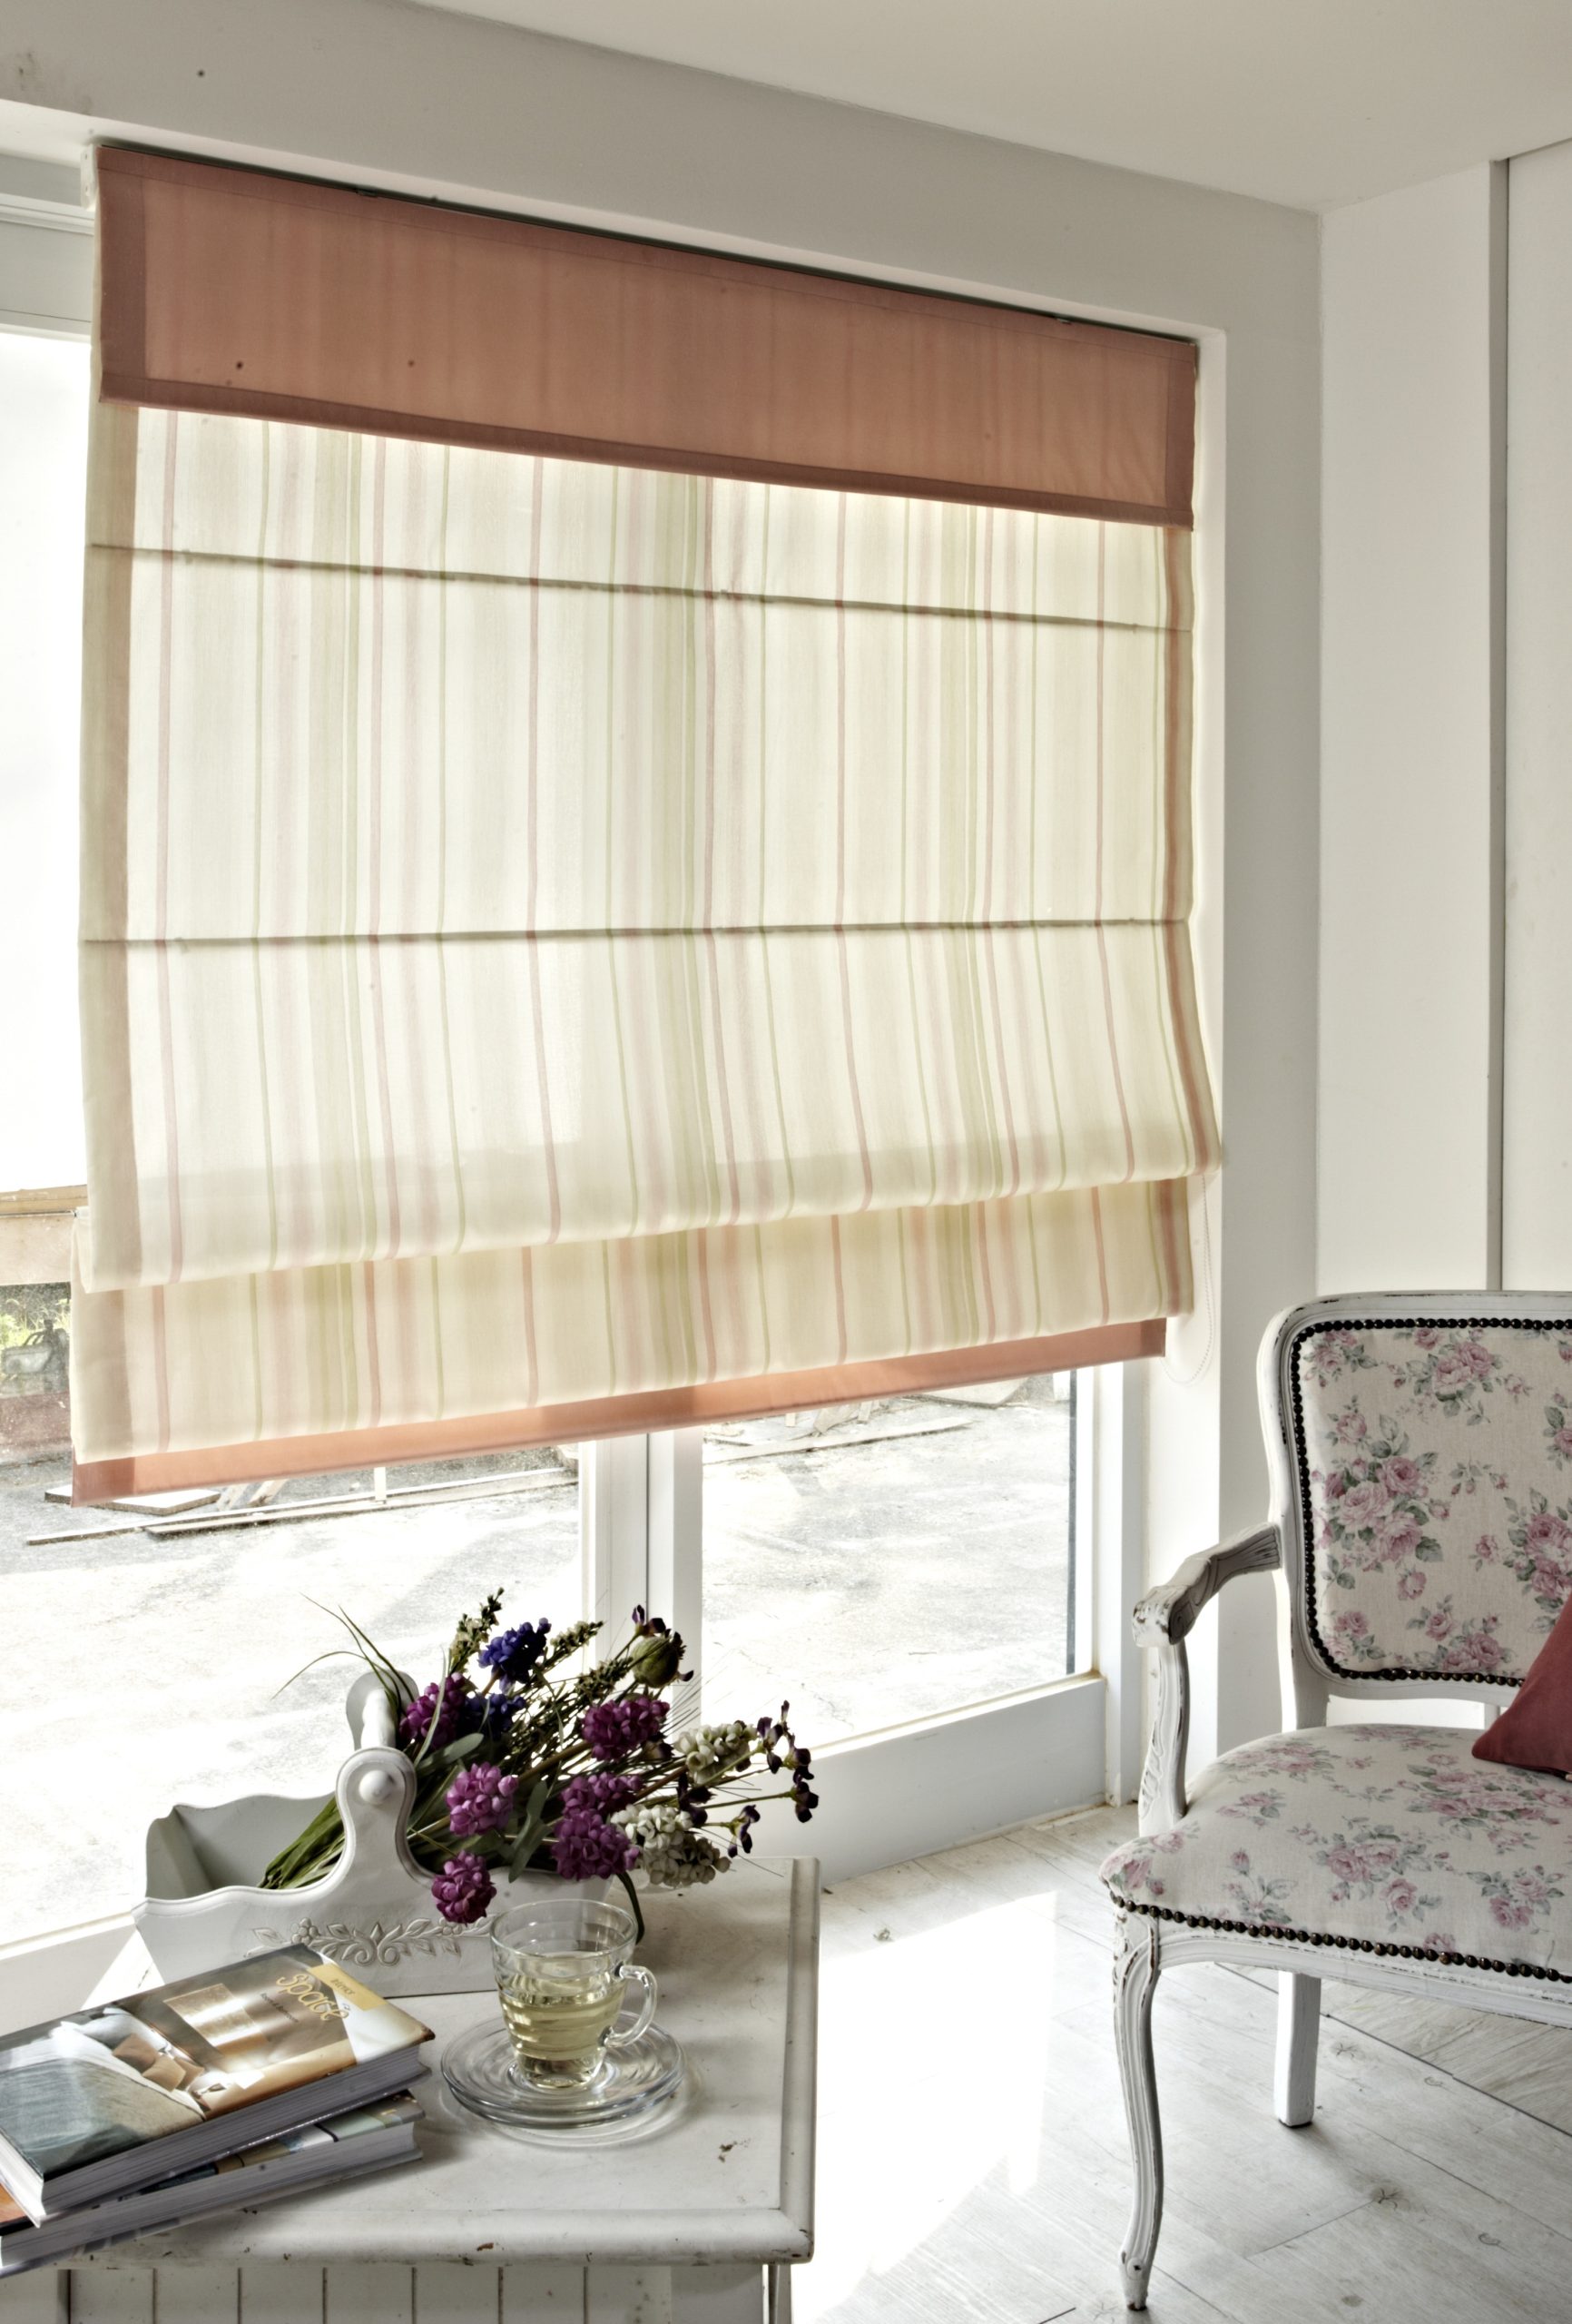
How to Maximize Natural Light with Window treatment In Kitchen
More Details: How to Maximize Natural Light with Window treatment In KitchenIs your kitchen feeling dark and drab? Window treatments, like sheer curtains and sheer light filtering shades, can help you maximize natural light in your kitchen and avoid dependency on artificial lighting. Transforming your kitchen from dreary darkness to a sun-kissed sanctuary with window treatments is quite easy. Lots of natural light will enhance your…
-
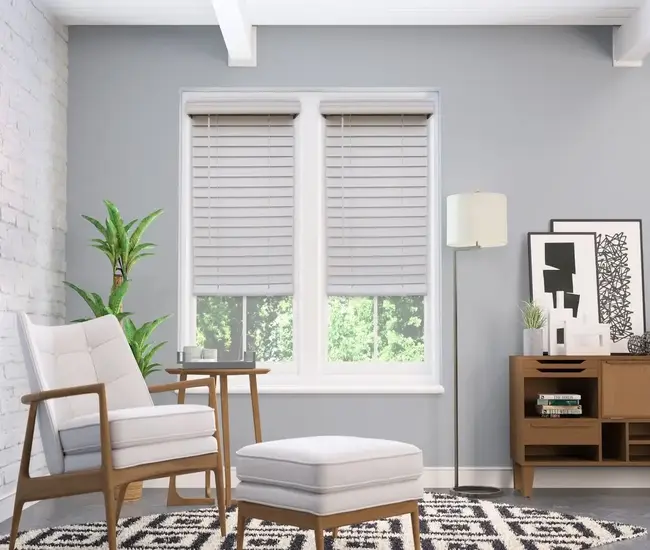
How to Choose The Right Window Blind Colors to Match Home Décor
More Details: How to Choose The Right Window Blind Colors to Match Home DécorAre you completely stuck on which color of blinds to use in your home? Choosing a perfect window treatment color can be fun but also difficult. A typically safe way is to take a close look at your window trim or casing. Or just select neutral colors, as they’ll match with any design and decor.…
-
The Pros And Cons Of Single Cell Vs. Double Cell Window Blinds
More Details: The Pros And Cons Of Single Cell Vs. Double Cell Window BlindsWhen it comes to choosing window blinds, you’re faced with a decision: single cell or double cell? As an experienced window blinds expert, let me tell you that this is no small decision. Depending on the look and feel of your space, as well as insulation needs and cost considerations, each type has its pros…
-
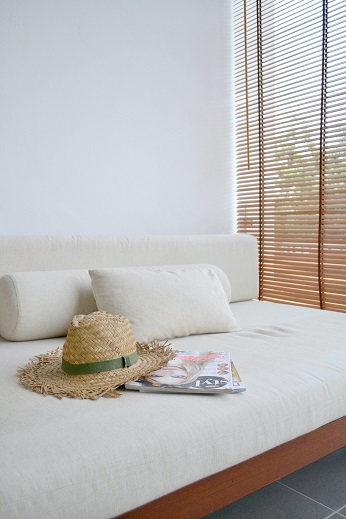
Sun Protection for Furniture & Blinds: UV, Aesthetic Value & More
More Details: Sun Protection for Furniture & Blinds: UV, Aesthetic Value & MoreThe sun’s harsh UV rays can damage your wood and leather furniture. But there is an easy two-in-one solution in the form of window blinds. That is, you can protect your wood and leather furniture and add a touch of style with window blinds! Not only will they provide much-needed sun protection for years to…
-

7 Best Selling Commercial Window Treatments 2025
More Details: 7 Best Selling Commercial Window Treatments 2025Looking for the best commercial blinds, shades, shutters, drapes, and curtains for small or large businesses? These 7 best-selling commercial window treatments 2025 can turn an ordinary building into one with eye-catching curb appeal, sun protection, energy efficiency, and other benefits. From retail stores and restaurants to offices – styling the perfect fit of blinds…
-

Motorized Treatments For Your Home’s Energy Efficiency
More Details: Motorized Treatments For Your Home’s Energy EfficiencyReady to make a smart, long-term investment in your home? Motorized treatments can help you cut energy costs and reduce your carbon footprint – all while keeping comfort the priority. As an experienced energy efficiency consultant, I’m here to equip you with important information on how motorized treatments will revolutionize their interior space for better…
-
Protect Your Little Ones And Furry Friends With These Window Treatments
More Details: Protect Your Little Ones And Furry Friends With These Window TreatmentsWhen decorating your home, it’s essential to combine both function and style. But did you know window treatments can go even further in protecting the special ones around you? Discover how a professional interior design expert guides families through selecting just the perfect window treatment for each room – safety included! The key is understanding…
-
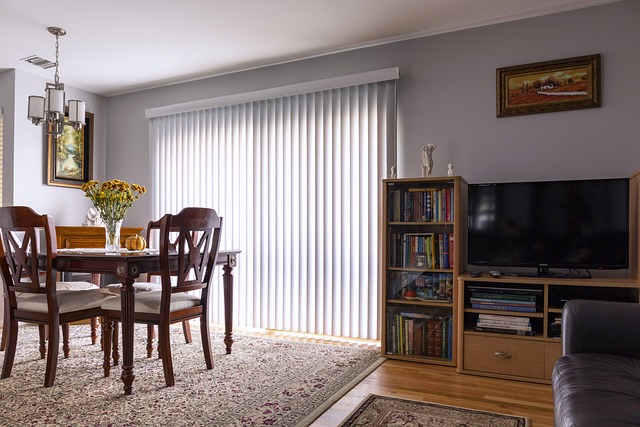
Maximize Your Privacy With Stylish Window Treatments
More Details: Maximize Your Privacy With Stylish Window TreatmentsMaximize your privacy, style and sophistication with custom window treatments. An interior design specialist is here to offer their best advice on how to choose the right shutters or shades for any space that looks great while providing top-notch security and discretion. Ready to add a touch of style and functionality to your space? If…
-

Summertime Window Treatment Care: How To Protect Your Investment
More Details: Summertime Window Treatment Care: How To Protect Your InvestmentSummertime is the perfect time to spruce up your home with new window treatments, but it’s important to remember that they need proper care and maintenance to stay looking their best. Without the right care, faded colors, frayed edges, and other damage can quickly ruin a beautiful investment. To help you protect your hard-earned money,…
-

What is the Best Height to Hang Curtains? 11 Top Tips
More Details: What is the Best Height to Hang Curtains? 11 Top TipsUnsure how high to hang your curtains? Dive into our guide for practical curtain height advice tailored to various window treatments and room types, giving your space the polished look it deserves. This post covers everything you need to know about how to hang curtains, the best curtain rods, and tons of other helpful tips!…
-

How To Pick The Perfect Window Treatment: The Definitive Guide
More Details: How To Pick The Perfect Window Treatment: The Definitive GuideNot sure how to dress your windows in style? Don’t worry! With just the right guidance, you can easily find a window treatment that adds an air of sophistication and classiness to any room. Here’s what I recommend for unlocking endless possibilities – discover my definitive guide on selecting the perfect window covering today! From…
-

Automate Your Window Treatments For A Stress-Free Holiday
More Details: Automate Your Window Treatments For A Stress-Free HolidayThe hustle and bustle of the holidays is enough to keep anyone on their toes. To ensure you make meaningful memories without unnecessary stress, consider automating your window treatments! Forget worrying about drawn drapes or adjusting blinds – let technology take care of it instead. With one less task in mind, there’s more time for…
-
The Definitive Guide To Cleaning Blinds And Shades
More Details: The Definitive Guide To Cleaning Blinds And ShadesCleaning blinds and shades can be a tricky task that many homeowners dread. But with the right approach, you’ll have your windows looking as good as new in no time! As an expert on window treatments, I’m here to provide a definitive guide to cleaning all types of blinds and shades. You won’t need any…
-
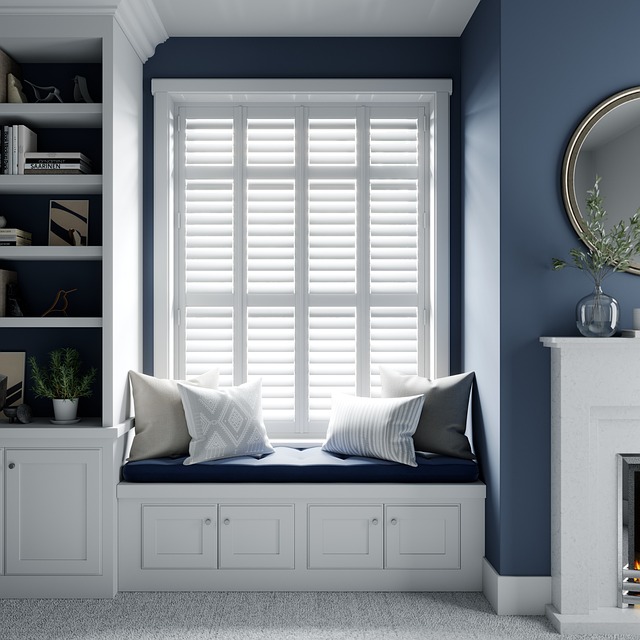
Beat The Heat: Window Treatments That Keep You Cool
More Details: Beat The Heat: Window Treatments That Keep You CoolBeat that summer heat in style and comfort with the right window treatments. From solar shades to plantation shutters, there’s an array of solutions designed to help you stay cool while allowing sunlight inside your home. Explore these options now for a more inviting atmosphere during even the hottest days! The first option to consider…