Admin
-
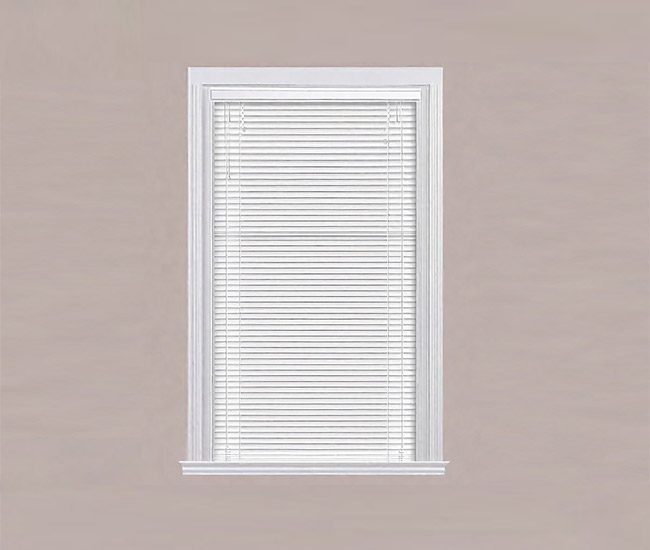
How Do You Make a Roman Shade Fit in a Window?
More Details: How Do You Make a Roman Shade Fit in a Window?Step-by-Step Guide to Fitting Roman Shades in Your Windows Nervous if your DIY Roman blind installation project will ensure perfect edge-to-edge alignment? You need not worry. The secret of a perfect fit for your classic window treatments lies in accurate window size measurements. If you carefully measure the width and height (w x h) of…
-
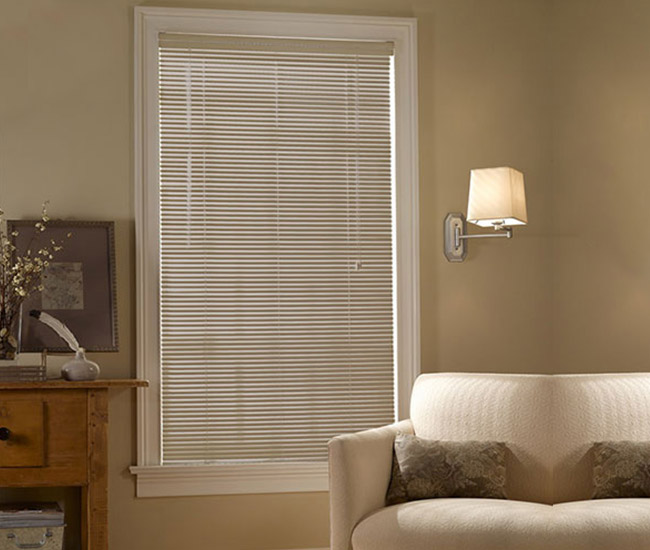
Best Blinds for Heat Retention: Do Blinds Keep Heat In or Out?
More Details: Best Blinds for Heat Retention: Do Blinds Keep Heat In or Out?Yes, they do! When completely lowered (with tightly closed slats) on a sunny window, highly reflective mini blinds can reduce heat gain up to 77%, according to the Department of Energy (DOE). What are mini blinds? They are affordable blinds made of horizontal slats that are less than half the width of standard (2-inch) faux…
-
Replace Mini Blind Slats: How To Guide
More Details: Replace Mini Blind Slats: How To GuideAre your mini blinds too long for the window opening? You’ll need to remove extra slats at the bottom to make them a right fit. Here are some practical tips and quick DIY steps to remove mini blind slats easily and safely. When you choose an inside mount for your new 1-inch-slat window treatments, you’ll…
-
How Cordless Mini Blinds Operate?
More Details: How Cordless Mini Blinds Operate?Want to figure out how cordless mini blinds go up and down? Answered! Mini 1” slat window coverings use a tension system, top-down/bottom-up push/pull, or a motorized control system to open or close without pulling cords. Some cord-free styles can also be lifted or lowered with a single touch, requiring only one hand. This is…
-
How to Use Cordless Blinds: Raise, Lower, Release & Operate
More Details: How to Use Cordless Blinds: Raise, Lower, Release & OperateCan’t figure out how to lift your child-safe cordless mini blinds? Modern 1” Cordless One Touch Mini Blinds can be raised or lowered with a gentle push or pull. All you need to do is push your hand (or finger!) in the middle of the shade and push up on the bottom bar to raise…
-
How to Shorten Cordless Mini Blinds
More Details: How to Shorten Cordless Mini BlindsEasy Steps to Resize Your Cordless Mini Blinds for a Perfect Fit If your cordless mini blinds are wider or longer, they’ll not give a perfect fit for your windows. An imperfect size means your affordable window coverings will not give you desired aesthetics and functionalities. A seamless adjustment also ensures a sleek look and…
-
What Can I Use Instead of Mini Blinds?
More Details: What Can I Use Instead of Mini Blinds?Better Alternatives for Window Treatments While mini blinds are one of the most popular window treatments for modern spaces, especially small windows, plenty of alternatives exist. Mini blinds, also known as aluminum blinds, are one of the most affordable window treatments that improve the curb appeal of your home, and provide privacy and light control.…
-
Do They Still Make Mini Blinds with Cords
More Details: Do They Still Make Mini Blinds with CordsExploring the Availability and Alternatives to Corded Mini Blinds A realistic answer to “Do they still make mini blinds with cords?” is: “Yes, they do.” Corded window coverings are now considered unsafe for home with young children and pets. According to the new Federal Safety Standard for Custom Window Coverings, approved by the US Consumer…
-
How To Take Down Faux Wood Blinds?
More Details: How To Take Down Faux Wood Blinds?A Step-by-Step Guide to Removing Faux Wood Blinds Planning to clean, upgrade, replace, or relocate your faux wood blinds? You’ll need to carefully take your window treatments down, so none of their parts gets broken or damaged. In this DIY step-by-step guide, you will walk you through the process of safely removing synthetic lumber shades.…
-
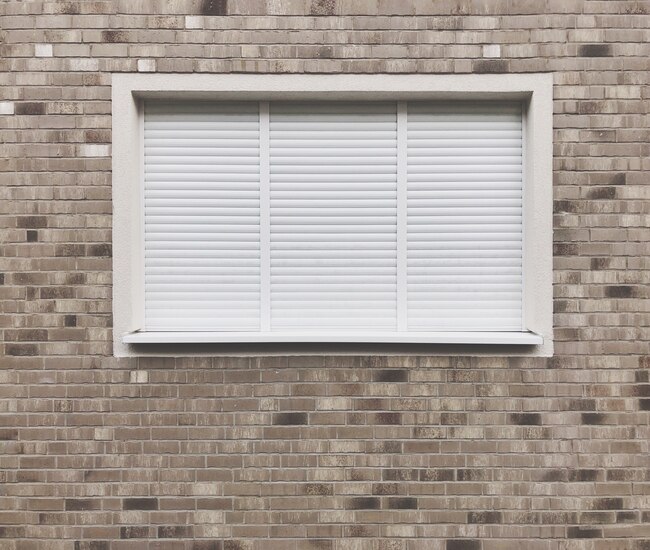
Do Faux Wood Blinds Keep Heat Out?
More Details: Do Faux Wood Blinds Keep Heat Out?Exploring the Heat Blocking Power of Faux Wood Blinds Yes, faux wood blinds can keep heat out if they are made of high quality material and are perfectly installed without light gaps. Here is a comprehensive guide about the heat blocking power of synthetic wood window treatments, factors affecting this feature of blinds, and the…
-
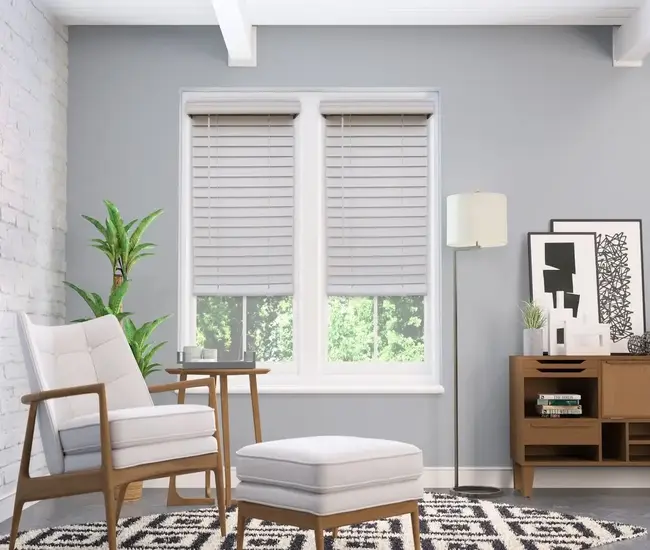
Are Faux Wood Blinds Good for Insulation?
More Details: Are Faux Wood Blinds Good for Insulation?Do faux wood blinds regulate temperature just like real wood blinds? Yes, they do! Faux wood blinds are economical, durable, and attractive window treatments that can effectively insulate your home in both directions, preventing heat loss during the winter and preventing heat from breaking in during the winter. When measured and fitted properly, they trap…
-
How do Cordless Faux Wood Blinds Work
More Details: How do Cordless Faux Wood Blinds WorkExplore the Benefits, Lift Mechanism, and Installation of Cordless Blinds Want to know how cordless faux wood blinds ensure an ultra-convenient and child-safe operation (raising, lowering, and adjusting slats)? Here is one way: you just need to push up or pull down on the bottom rail to raise, or lower your top-down/bottom-up blinds. You can…
-
How long do faux wood blinds last
More Details: How long do faux wood blinds lastFactors Affecting the Lifespan of Synthetic Wood Blinds A short, generalized response to the question “How long do faux wood blinds last?” is: “They might live for nearly a decade!” More precisely, your high-quality made-to-measure synthetic wood blinds can easily last a minimum of 8 to 9 years without showing the signs of wear and…
-
How to Use Roller Shades for Better Functionality, Style, Longevity
More Details: How to Use Roller Shades for Better Functionality, Style, LongevityWant to maximize light control, privacy, style, child-safety, convenience, and longevity of your roller shades for windows? Accurately measure, install to ensure perfect fit, and use them with care to keep them looking like new and enjoy 100% benefits. Regular cleaning and maintenance will add to the life of your roller shades. If you are…
-
Should Roller Shade be Wider than the Window?
More Details: Should Roller Shade be Wider than the Window?Seeking advice on picking the perfect width for your roller shade? Wondering if adding extra 3 to 4 inches to the width of your roller shade would improve the form and function of your window treatment? It depends on the mounting style and other factors. While an inside mount requires you to cut the fabric…