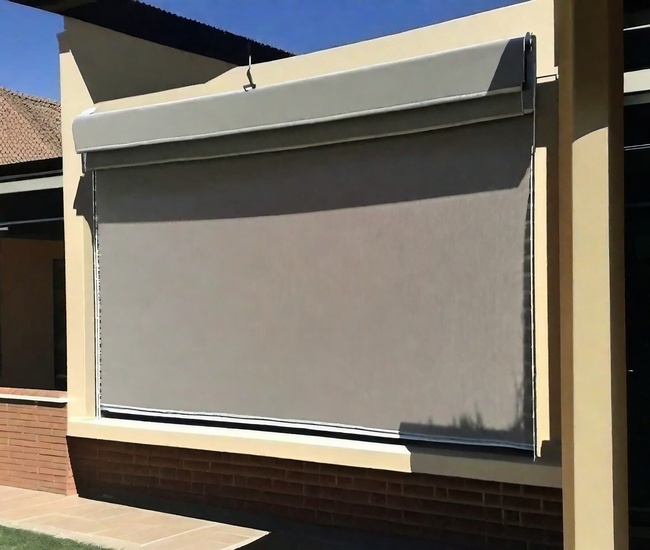
Whether you’re going to redecorate your windows or ready to install an upgraded version of roller blinds, you’ll need to remove those already installed on the windows.
Looking for a more convenient and safer way to remove your existing roller blinds from the windows? You don’t need to be a rocket scientist to do this. Taking down a roller blind can be as simple as loosening and pulling out a screw using a screwdriver!
Sometimes, you don’t even need a screwdriver! Just turning the roller tube or plastic rail in an anticlockwise direction will release your blind.
To make the whole process simpler, tightly roll up or close the blinds and remove the safety clip from the wall before checking out the bracket type.
However, the exact uninstallation method will depend on the mounting style (inside or outside the frame) and the hardware used. For example, standard or cassette roller blinds will require different tools and techniques to remove them.
This post presents different simpler step-by-step guides to quickly remove roller blinds without causing damage to yourself or your old, reusable blind.
What are Roller Blinds?

Roller blinds, also referred to as roll-up shades or ‘rollers’, are affordable, easy to install and flexible window covers. They come with various stylish designs to complement each unique home decor.
When and Why You Need to Take Down Your Roller Blinds?
There is likely no need to remove your rollers regularly, there are some instances when you have to.
- Redecorating your windows in your room
- Deep cleaning or washing the fabric

- Doing repairs
- Upgrading to an advanced version, such as motorized
- Replacement
- Readjustment
2 Easier Ways to Remove Roller Blinds from Windows
Tools you’ll need
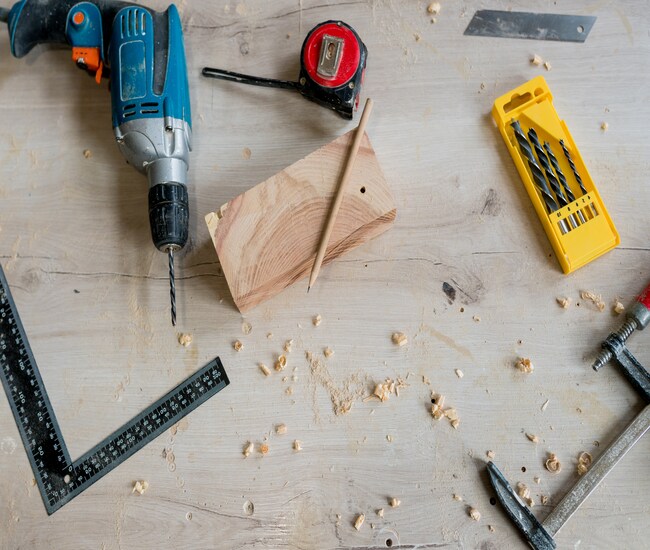
- Screwdriver
- Step ladder (optional)
- Dull knife (if needed)
Method 1 (Removing Roller Blinds without Using any Tools)
You can use this method of removing blinds if your shade has a pin unit at one end. A pin end unit is a component of the mounting hardware with a spring-loaded pin.
Here is how it works:
As you release it, the pin gets back in the usual position. This is what ensures the quick removal of blinds by just turning them.
When you turn that in the clockwise direction, the pin gets extended, so the blinds will get tighter inside the brackets. And it will be hard to remove them.
As you turn the chain drive in the anticlockwise direction, the pin will get retracted.
Follow these DIY steps:
Step 1: Tightly roll up the blind fabric.
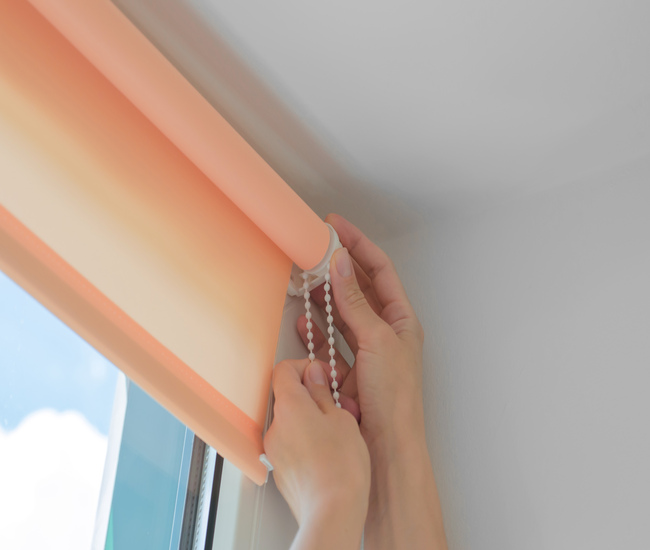
Step 2: Firmly hold the plastic roll (or roller tube) in your hands.
Step 3: Turn the plastic roller tube in the anti-clockwise direction. Your roller blinds will be released from the pin end.
Step 4: Carefully take the blinds down.
Method 2
Here is an easier, more straightforward method to take down your existing roll-ups.
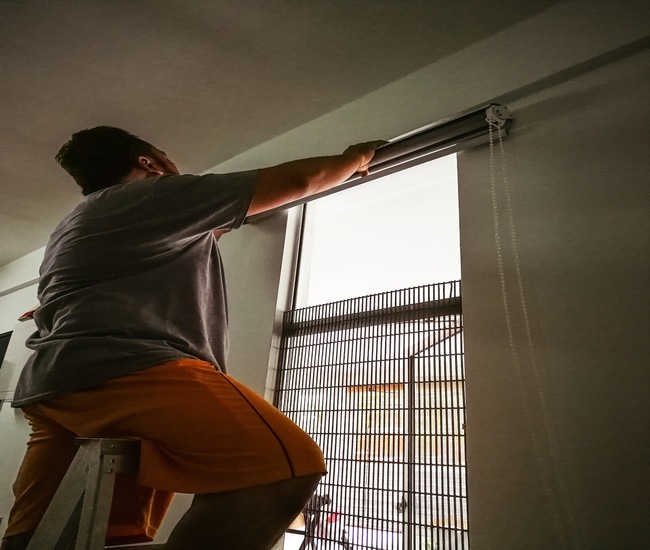
Step 1: Free Up the Chain from Safety Clips
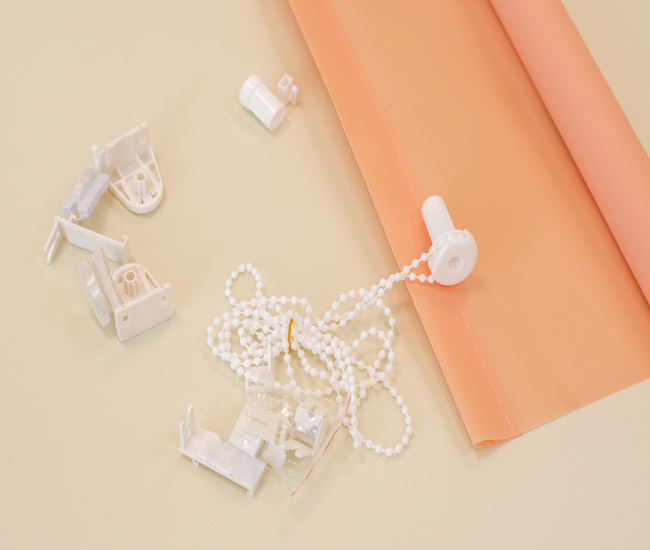
Before taking down your blinds, you’ll need to unscrew the safety clips. Free up the chain from the safety clips or hooks where it has been secured.
- Use a screwdriver to loosen and remove the screw holding the clip.
- Pull the clip off the wall.
- Remove tensioning devices securing a looped chain system.
- A safety clip keeps chains or cords permanently stretched and is usually placed at a maximum distance from the roller blinds’ cap.
Note: You can skip ‘Step 1’ if your roll-up shades don’t have a cord- or chain-based control mechanism.
According to CPSC’s new Federal Safety Standards for Custom Window Coverings, corded window blinds pose a strangulation hazard to your young children and pets.
While a cordless lift system is the best child-safe option, a temporary solution is to secure the cords with safety clip devices. These safety devices keep the control cords or chains out of the reach of kids and pets.
Step 2: Close Your Roller Blind
If you use a pull string to open or close your blinds, pull that string down to completely roll the blind fabric up, making it easier and effortless to take it down.
If the lift cord is damaged, your rollers won’t roll up. Alternatively, use your hands to spin the spool counter-clockwise.
Access the mounting brackets behind the headrail.
Step 3: Remove Bracket Covers
If mounting brackets are sealed or covered, remove those covers to access them.
Step 4: Check Out Mounting Brackets
Locate brackets on both sides of the blinds. A bracket on one side will hold the roller mechanism, while those on the other end will secure it with the help of a clamp.
Use a step ladder to access the brackets if your windows are high.
Identify the safety clamp on one side and remove it.
Step 5: Release Roller Tube from the Brackets
- Lift the side of the roller mechanism with the clamp to release it from the brackets.
- Pull off the side and take it off.
- If your blinds use a serrated disc instead of a clamp, rotate that disc counter-clockwise to unlock the blind from the bracket.
- Once the blind has been unlocked, pull it down and take it out.
- If the wheel gets stuck, try to push it off the bracket using a dull knife.
Note: If you are planning to install the blind back on the window, don’t apply brutal force to take it down. If your window cover doesn’t come out with gentle force, keep trying again. Meanwhile, make sure all the screws have been unscrewed.
Step 6: Unscrew & Take Down Brackets
Want to completely replace your blinds?
- You’ll need to unscrew and take down the brackets as well.
- After unscrewing, gentry pull out the brackets from the wall.
- All done! The process of uninstallation is now complete.
Post Blinds’ Removal Wall Treatment
If you don’t want to reinstall the roller-up window covers (you just removed), you’ll need to fill the holes left by the screws.
- Squeeze a filler or a spackling paste into each hole.
- Let the filler dry.
- Apply to paint finish.
FAQs
How do you remove roller blinds with hidden brackets?
Step 1: After rolling up the blind, place your hand between the window’s frame and the back of the cassette and feel for hidden brackets along the width of the roller blinds.
Step 2: After locating the brackets, push the metal prong up towards the top of the window recess.
Step 3: Find the remaining hidden brackets and push them up towards the top of the recess.
Step 4: Your roller blinds are released. Just safely remove them.
How do you remove roller shades from windows?
Step 1: Wind the fabric around the tube.
Step 2: Remove child safety devices.
Step 3: Use flat bladed screwdriver to prise blind free.
Step 4: Identify if your blind has a retractable pin or a spring pin.
Step 5: For a spring pin blind, gently lift and ease the chain control end of the roller out of the bracket and push it towards the pin end of the roller.
Step 6: For a retractable pin, turn the serrated wheel and the pin will retract, releasing your roller shades for a safe removal.
How do you remove roller shades from a cover?
To remove roller shades from a cover, follow these tips:
- Roll the shades up.
- Remove the battery.
- Push the tabs inward and release the shade.
- Simply take it down.
- Unscrew the cover and take the roller system out of it.
- When they are ready to be reinstalled, gently push the roll-up system back into the clips.
Still Unsure?
Need further help from our DIY experts to remove existing roller blinds from windows? Contact our customer care professionals for more practical tips and solutions. Use 24/7 live chat or give us a ring at (800) 863-6109 now.
