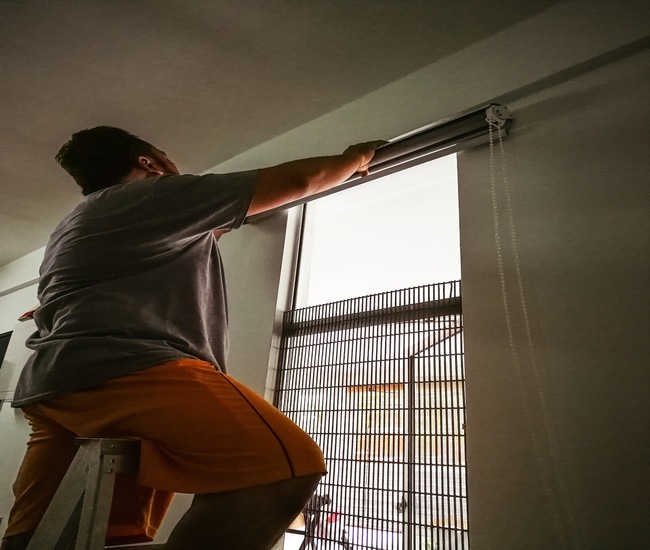
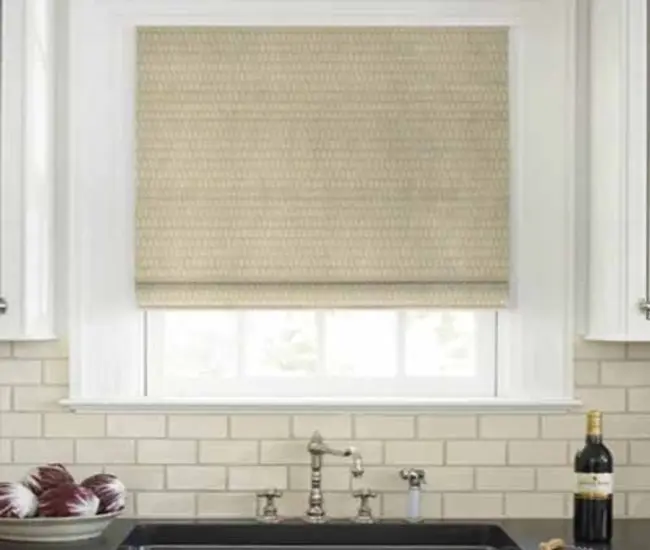
How should blinds be hung? You can hang your new window shades in 7 to 10 minutes depending on the size, type, and location (inside or outside the frame).
There are different ways to hang window shades. The installation method you need to use will depend on the type of shades, size of the mounting hardware you have, and your functional requirements. For example, if your blinds come with a slim design, you can easily hang them inside the recess. This space-saving option will make your window look sleeker.
Another popular style to hang window shades is an outside mount, which is an easier option, ensures better coverage, and will make your small window look bigger.
One way to hang window shades is to hold brackets in place, line them up, mark the holes, drill holes, install screws, attach headrail and secure it in place.
Things to Consider When Hanging Window Shades
Decide about Mounting Location
Before purchasing new window shades, decide if you want to hang them on the inside or outside of the window frame, i.e., on the wall around the window openings.
Read & Follow Installation Instructions
Carefully read installation instructions provided by your product manufacturer.
Collect Necessary Equipment & Materials
Collect all the materials and tools, so you won’t face any difficulty during installation.
Record Measurements Based on Your Chosen Mounting Type
Take specific measurements based on your chosen mounting setup.
- If you go with an inside mount, make sure to measure depth of the frame and make appropriate deductions for smoother, obstruction-free operation.
- If your window’s frame is too shallow to accommodate mounting brackets (as per manufacturer’s specs),
- In the case of an outside mount, you can add a few inches to both length and width of the window blinds for better covering and function, and to make your window look bigger.
Materials & Tools You’ll Need to Hang Window Shades

- New window shades (along with brackets and screws)
- Projection brackets (if needed)
- A steel tape measure (to measure width, height, and recess)
- A pencil and a piece of paper (to record values)
- A level with bubble (to level and align brackets and holes)
- A drill with a drill bit
- A small screwdriver
- A ladder or stepladder (to get better to the top of the window, if it is tall)
How to Accurately Measure for Window Shades

Here is our DIY step-by-step guide on how to measure windows for shades and blinds.
- Measure Width: Measure the width of the windows at top, middle, and bottom. Record the narrowest value.
- Measure Height: Measure the height of the top of the window or other space from the top to bottom in the left, middle, and right. Record the shortest value. For example, if the measurements are 51”, 51 ¾”, and 51 ¾”, order blinds measuring 51 inches in length.
- Measure Depth: Run the steel tape measure from the outside of the window frame to the inside and take the measurement from edge to edge. Ensure accuracy to the fraction of an inch.
6 DIY Steps to Hang Window Shades for Perfect Fit, Look, Function, Operation

Install the mounting hardware of the window treatment according to the manufacturer’s instructions. This will involve drilling screws into the window frame or fixing brackets to the wall.
Here are a few DIY steps you can follow to hang window shades in 7 to 10 minutes:
Step 1: Position and Align Brackets
Position the brackets – two on the corners and one in the middle – on the wall’s surface where you want to hang the window shades.
Step 2: Mark Bracket Points and Holes
Mark the bracket installation points and the bracket holes along the top of your headrail with a pencil. The number and spacing between brackets will depend on the width and weight of blinds. Wider, heavier window shades will need more brackets.
Step 3: Drill Pilot Holes
Drill pilot holes where the screws should go, while keeping the bracket well aligned. Repeat this process for each bracket, including the center support bracket.
Step 4: Screw the Brackets
Take a screwdriver or drill to screw the brackets into place
Step 5: Hang the Headrail
Hook the headrail into the front of the pre-installed brackets. Rotate it down until you hear it snap into place.
Step 6: Finish Installation
Finish installation by testing operation – raising and lowering the new window shades.
Note: It’s a good idea to read the DIY installation instructions carefully before you start your DIY project to hang blinds, as each kind of shade may have different installation requirements. If you don’t feel confident to install the shades safely, seek the help of a professional.
How Do You Hang Self-Adhesive Window Shades in 4 Easy Steps?
Some people ask how to hang blinds without brackets. Here’s the answer to their query. Self-adhesive shades are the easiest and quickest to hang window coverings, taking just 3 to 4 minutes! Even a newbie can perfectly do that! On the upper side of these blinds, there are two to three brackets coated with an extremely strong adhesive and protected with a strip.
To hang self-adhesive, screw-less, or no-drill blinds, follow these steps:
Step 1: Choose a shade according to the size of your room’s window (width and height in inches)
Step 2: Uncover the long adhesive strip on the window shades.
Step 3: Stick the exposed part of the adhesive tape to the window frame or behind the door.
Step 4: Press firmly on the strip to ensure best sticking to the wall.
How Do You Attach Window Shades to the Window Frame?
Here’s an easy, 9-step procedure to attach window shades to the window frame.
- Step 1: Measure the width, tallness, and depth or recess of the window frame to the 1/8th of an inch and make deductions. Make sure the window shades you have purchased are smart enough to fit into that space.
- Step 2: Position two brackets in the upper corners of the window frame and one in the middle. Make sure the bracket locations are even and they flush with the wall’s surface.
- Step 3: Mark locations for the screws and drill pilot holes.
- Step 4: Drill the screws into place to secure the brackets.
- Step 5: Attach the window shades to the frame by sliding the headrail into the brackets.
- Step 6: Secure the headrail into place by closing the brackets.
- Step 7: Attach the wand by hooking it to the metal clip at the top.
- Step 8: If your window shades come with a valance, attach and position it on the headrail.
- Step 9: Test operation of the shades by raising, lowering, or positioning the fabric anywhere across the window opening.
FAQs
Are window shades hard to install?
No, window shades aren’t hard to install under normal conditions. Installing window shades can be an easy DIY project whether you prefer an inside mount or outside mount setup. For example, putting up cellular shades, pleated shades, or Roman shades can be completed in a few easy steps, taking 5 to 10 minutes per window. To put them up, you won’t need much more than a drill, brackets, screws, screwdriver, and pencil.
How do you hang shades without drilling holes?
There are multiple methods to hang shades without drilling holes:
Method 1: The best way to hang your window coverings without drilling is by using tension rods. Tension rods are simple and easy to use.
Method 2: Adhesive mounting strips provide a more secure installation (without drilling) that can last for years.
Method 3: You can attach adhesive command hooks on the wall around the window opening or with the window frame.
Method 4: The easiest and quickest method to attach no drill shades to the frame is by using powerful magnets.
Need More Help?
Still unsure how to hang blinds for the perfect fit, look, function, and operation? Speak to one of your friendly consultants today using 24/7 live chat or give us a ring at (800) 863-6109 for expert advice and custom DIY installation tips.
