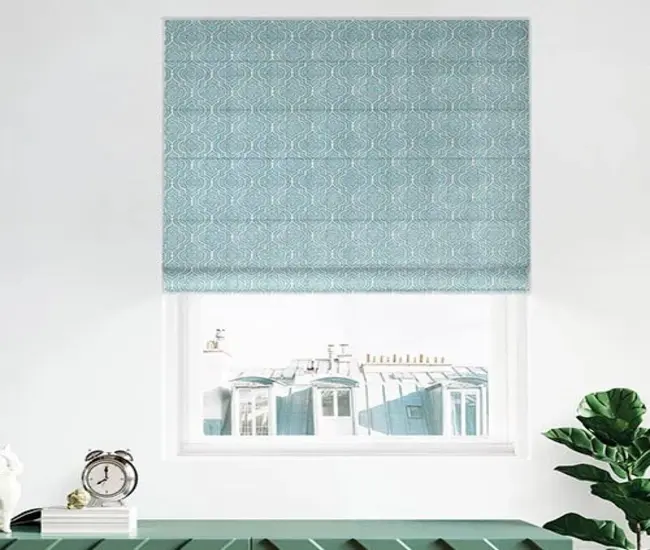
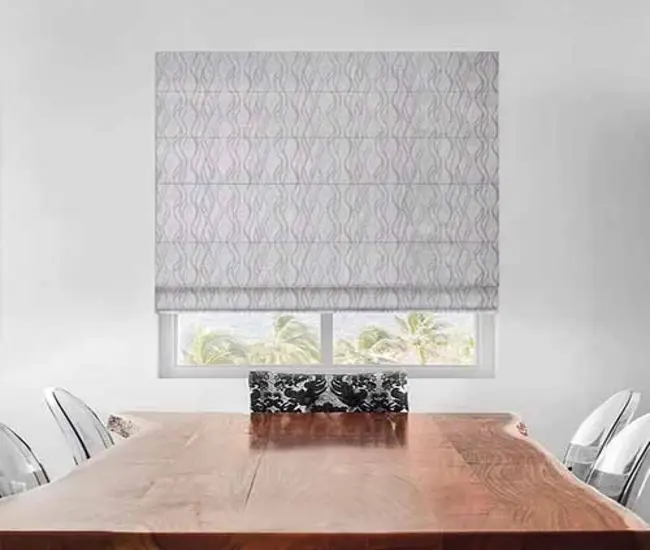
Making Roman shades isn’t a cup of tea for everybody, is it? But if you are a regular DIYer and apply creative techniques to make things, making custom Roman shades could be a breeze for you. Here is an easy step-by-step guide to making DIY Roman shades in a short time using minimal materials and equipment.
In the book “How to Make Roman Shades: A Simple Step-by-Step Illustrated Guide to the Roman Shades You Want”, Jennifer Thoden (2003) gave creative ideas to make stylish and multifunctional Roman shades. After going through these tips, you will realize that making a window covering is quite easy.
Why Make DIY Roman Shades

Making DIY Roman shades could be advantageous in several different ways. First, it is the most economical way to treat windows of your home, office, or other building. Second, you can give a personalized touch to your windows. Third, such an activity will equip you with the skills to do things technically. Finally, making DIY Roman shades can be a fun-yielding activity for DIYers who take pleasure in doing things manually.
Things to Consider to Make DIY Roman Shades
If you are planning to make DIY Roman shades, there are certain things to consider to ensure quality, functionality, and a perfect fit.
- Material Choice

Choose a fabric material that is appropriate for Roman shades, such as linen, polyester, or cotton blends.
- Choose Color & Pattern

Select a suitable color, pattern, and texture of the fabric that suits your taste and needs of the interior decor.
- Functional Requirements: Think about the amount of light filtering, privacy, and insulation you will want your Roman shades to provide in your home.
- Take Measurements

Measure the window frame carefully to ensure that your DIY Roman shades will fit properly. Consider the depth of the window frame and the length of the shade, as well as the amount of fabric material needed for pleating.
- Style: Decide a style of Roman shades that you want to make, such as classic flat or relaxed. You can also go for a more modern look like hobbled or balloon.
- Tools

Gather all the necessary tools and supplies, such as a steel tape measure, sewing machine, fabric scissors, pins, and iron.
- Time Factor: You need to spare enough time to complete your DIY project from start to finish, as Roman shades can be more time-consuming than other DIY window coverings.
- Skill Level: Consider your level of expertise in sewing and other skills before starting your DIY project. If you are a beginner, start with a simpler design and work your way up to more complex patterns and styles.
- Safety: Make sure to take proper safety measures when using sewing machines and sharp tools. It is also essential to install a cordless or motorized lift mechanism to ensure the safety of your kids and pets.
Following these considerations can help you create beautiful and functional DIY Roman shades that add style and privacy to your home, office, or other building.
Materials You Need to Make DIY Roman Window Treatments
Collect the following materials before you start making DIY Roman shades.
- Sewing machine
- A pair of scissors
- Suitable fabric material
- Lining fabric
- Cord or ribbon
- Cord cleats
- Thread & needle
- Steel tape measure
- Iron
- Pins
- Screws
- Wood dowels
- Metal rod
- Cord lock
- Staple gun
- Drill
Step-by-Step Guide to Make DIY Roman Shades
Measure the window: Measure the width and length of the window you want to cover.
1. Cut the Fabric to Size: Cut your main fabric to size, and add 1 inch to the width and 10 inches to the length for hemming and seam allowances.

2. Cut Lining Fabric: Cut a piece of lining fabric for Roman shades to the same size as the main fabric.
3. Hem Bottom Edge: Hem the bottom edge of both the main and lining fabric pieces by folding them up 1 inch and pressing. Then fold up another inch and sew in place.
4. Attach Lining: Lay the main fabric piece on a flat surface, with the right side facing down. Place the lining fabric on top, with the right side up. Pin it around the edges. Sew the fabrics along the sides and top, and leave the bottom hemmed edge open.
5. Create And Attach Pockets for Metal Rods: Cut two strips of fabric according to the width of the shade, and fold them in half lengthwise. Sew it along the long edge and one short edge of each strip. Make sure to leave one short edge open. Turn the right side out and press it., After that, you can attach the rod pockets to the back of your DIY Roman shade, about 6 inches from each edge. Sew the fabric along the sides and bottom edge of each pocket. Leave the top open to slide a rod through.
6. Insert Metal Rods: Slide a metal rod through each pocket.
7. Create Loops for Cords: Cut two pieces of ribbon or cord according to the width of the shade and add a few inches. Fold each piece in half and sew the ends to the top of the window blinds, about 3 inches in from each edge.
8. Add Cord: Cut a piece of cord about twice the length of your shade, and thread it through the loops at the top. Form a loop by tying the ends together.
9. Attach Cord Cleats: Attach cord cleats to the wall on either side of the window frame at a height that is easy to reach but out of the reach of young children and pets.
10. Hang Your DIY Roman Shade: Hang your DIY Roman shade on the wall around the window frame and tie the cord loop to the cord cleat to hold the blind in place.
Bottom Line
Making a DIY Roman shade could be easy for a DIYer. With a few basic materials, tools, and some sewing skills, you can create beautiful DIY Roman shades that add style and functionality to any room in your home, office, farmhouse, or other structure.
