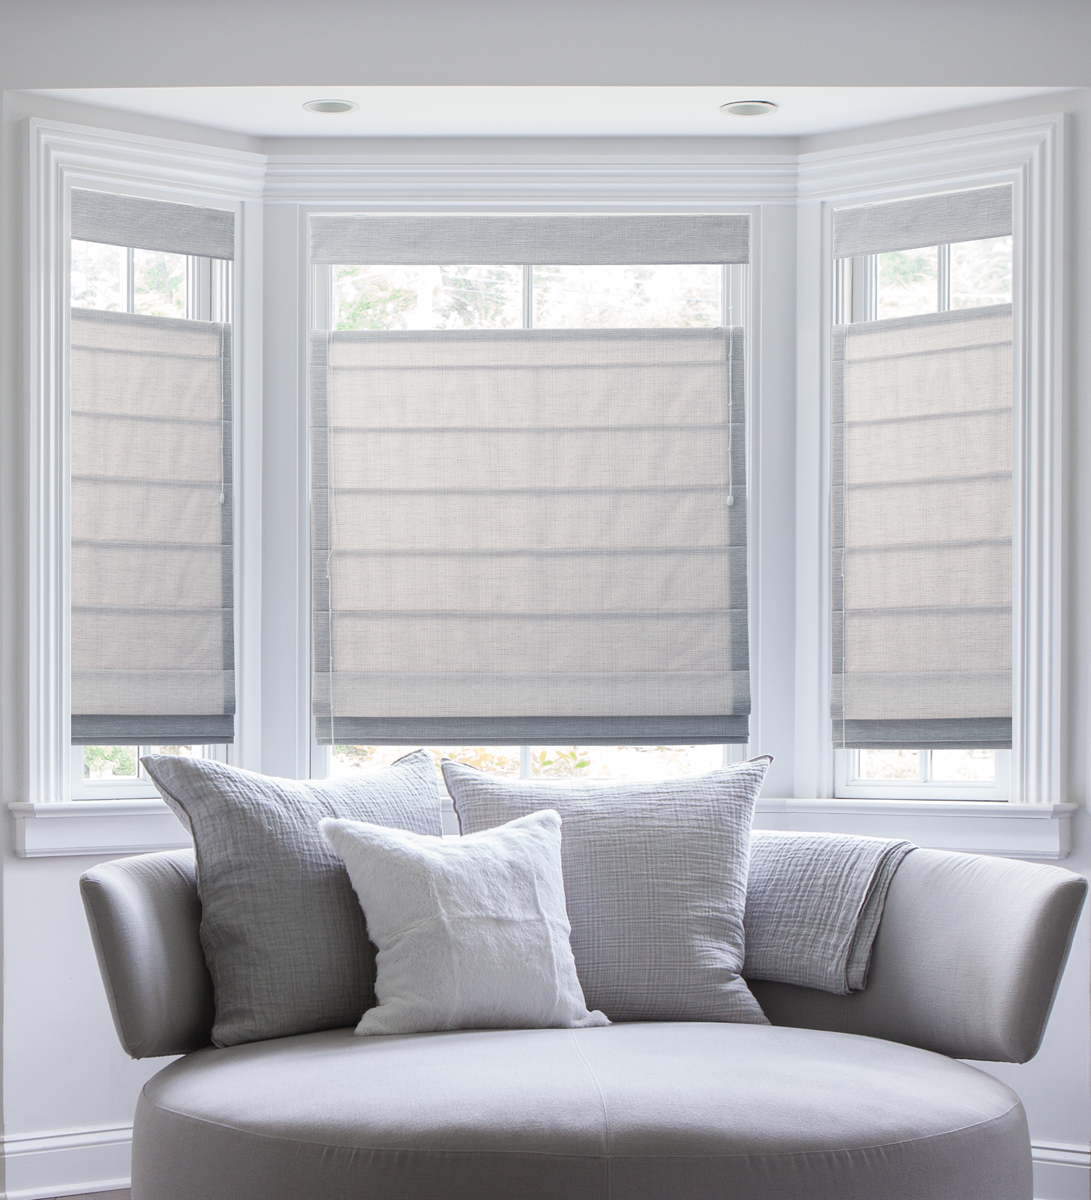
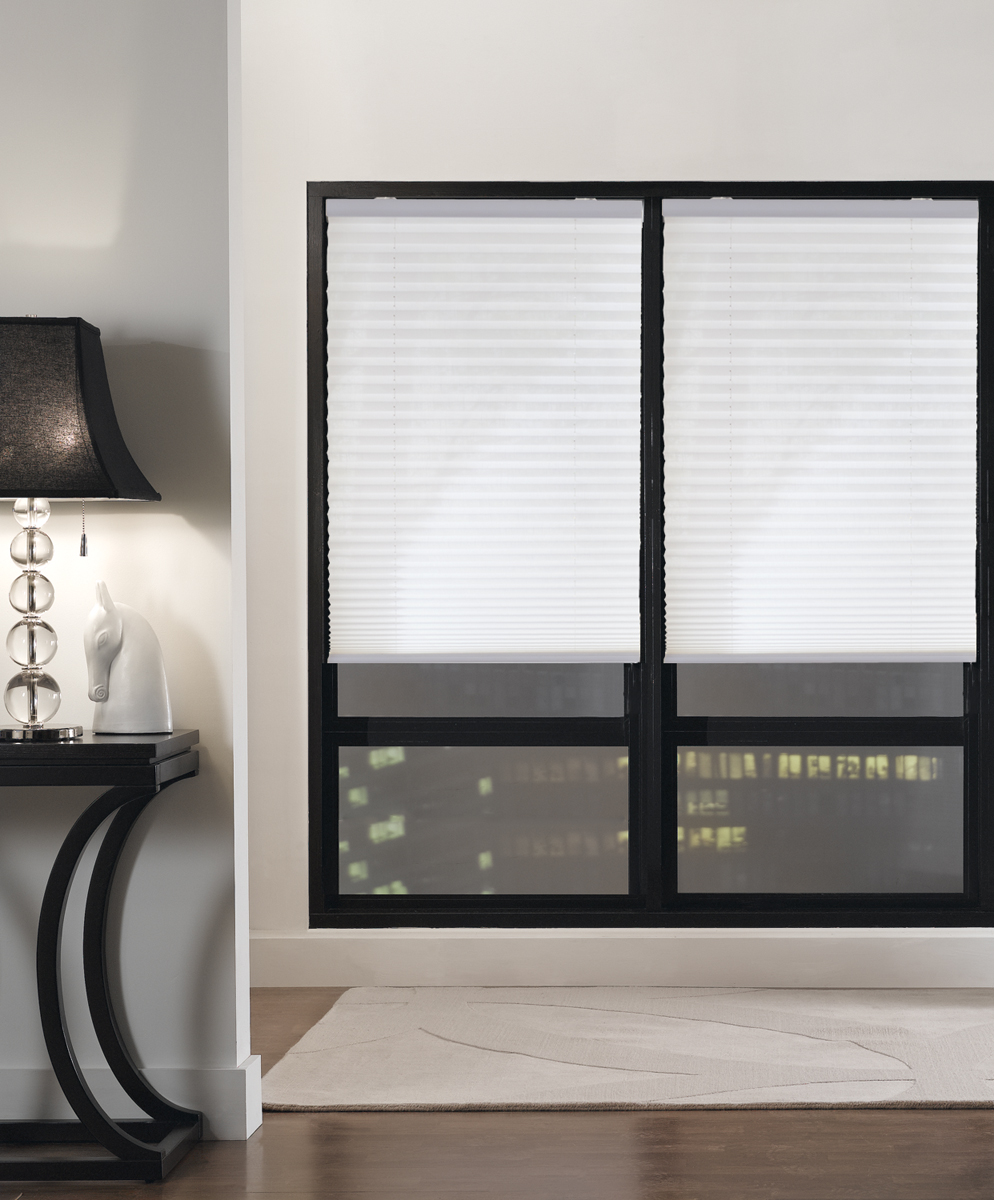
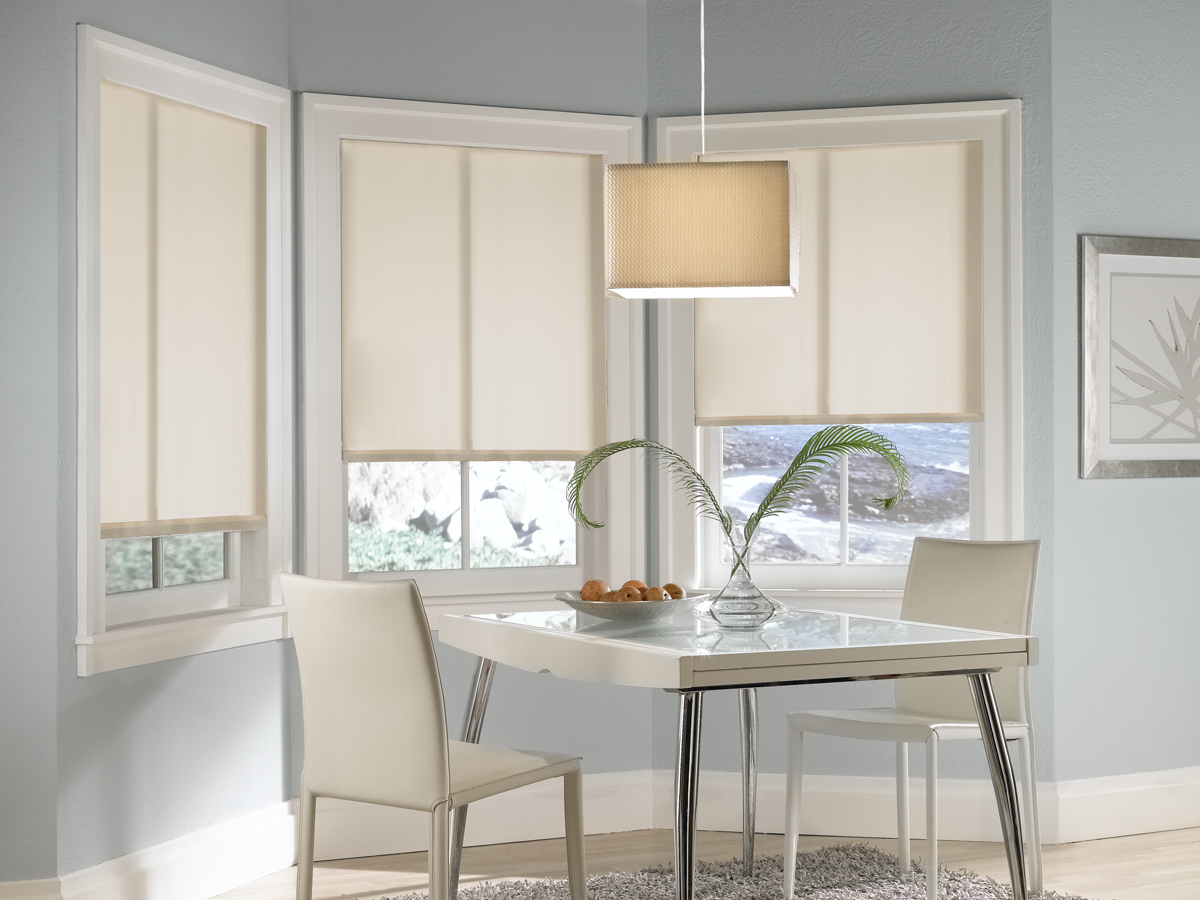
Installing blinds and shades isn’t as tough, painful, and time-consuming as it’s claimed. You can do it on your own with a few tools and some quick DIY installation tips.
Let’s make things easier, simpler, and professionally more perfect with a step-by-step DIY installation guide on “how to install blinds, shades in a few minutes”.
But keep in mind that this is a general installation guide. For complete, precise installation instructions, go to the installation process of a specific product.
Before You Start Installing Blinds, Shades
- Take accurate measurements of your window size with a steel measuring tape.
- While taking measurements, account for inside mounts and outside mounts.
- Double check number of screws, mounts, and other hardware equipment.
Tools You’ll Need
- Screwdriver
- Drill (hand or electric)
- Level tool
- A steel measuring tape and pencil
- Step ladder (if needed)
Choose Outside or Inside Mount Blinds, Shades
Decide if you want to install your blinds, shades, shutters, or draperies inside the window frame or casing (Inside Mount) or above and around the window recess (Outside Mount).
Step-by-Step Guide for Inside Mount Blinds, Shades
Step 1: Sort Out and Prepare Mounting Brackets
Sort out different types of mounting brackets, like end box and center support brackets, and prepare them before you begin fixing them to the inside of the window recess or casing for inside mount blinds, shades.
Step 2: Align Brackets with a Level Tool and Mark Their Positions
- Use a level tool to align box brackets at each end of the headrail or opposite corner of the window frame.
- Mark the position of each bracket with the help of a pencil.
- Mark the location of center support bracket in the center of box brackets.
- If there are more than one support brackets, place them evenly between the end brackets.
Step 3: Mark Screw Locations and Drill Pilot Holes
- Mark the location of bracket mounting holes with the help of a pencil.
- Drill pilot holes using a hand or electric drill.
- Use drywall anchors if you are mounting blinds or shades into a drywall without studs.
Step 4: Screw Brackets in Place
- Use a screwdriver to screw different types of brackets (e.g., end box brackets and center support brackets) into place.
- Attach the brackets using the top, side, or back holes depending on the location of installation.
Step 5: Slide or Snap Headrails into the Brackets
- Install your inside mount blinds or shades by sliding or snapping the headrail into the brackets.
- Secure the headrail in place by closing the end box brackets.
Step 6: Test Operation of Inside Mount Your Blinds, Shades
- Raise, lower, rotate, or adjust your blinds or shades to test if each part is working perfectly.
- Pull down the cord to unlock it and slowly release it to let the blind or shade get lowered to the desired level.
- Pull the cord down to raise your inside mount blinds or shades.
- Lock the cord once your blinds or shades are adjusted at the required position.
Step 7: Installing Valance
To conceal the installation hardware and to add to the decorative appeal of your window shades or blinds, you may like to install a valance.
- Fix two valance clips, each at the opposite end of the headrail.
- Attach remaining clips evenly to the front of the headrail.
- Make sure that two parts of a valance clip snap together.
Step-by-Step Guide for Outside Mount Blinds, Shades
Step 1: Sort Out and Prepare Mounting Brackets
Sort out different types of mounting brackets, like end box and center support brackets, and prepare them before you begin fixing them to the outside of the window recess or casing for outside mount blinds, shades.
Step 2: Align Brackets with a Level Tool and Mark Their Positions
- Use a level tool to align box brackets at each end of the headrail or opposite corner above the window frame or casing.
- Mark the position of each bracket with the help of a pencil.
- Mark the location of center support bracket in the center of box brackets.
- If there are more than one support brackets, place them evenly between the end brackets.
Step 3: Mark Screw Locations and Drill Pilot Holes
- Mark the location of bracket mounting holes with the help of a pencil.
- Drill pilot holes using a hand or electric drill.
- Use drywall anchors if you are mounting blinds or shades into a drywall without studs.
Step 4: Screw Brackets in Place
- Use a screwdriver to screw different types of brackets (e.g., end box brackets and center support brackets) into place.
- Attach the brackets using the top, side, or back holes depending on the location of installation.
Step 5: Slide or Snap Headrails into the Brackets
- Install your outside mount blinds or shades by sliding or snapping the headrail into the brackets.
- Secure the headrail in place by closing the end box brackets.
Step 6: Test Operation of Your Outside Mount Blinds, Shades
- Raise, lower, rotate, or adjust your blinds or shades to test if each part is working perfectly.
- Pull down the cord to unlock it and slowly release it to let the blind or shade get lowered to the desired level.
- Pull the cord down to raise your outside mount blinds or shades.
- Lock the cord once your blinds or shades are adjusted at the required position.
Step 7: Installing Valance
To conceal the installation hardware and to add to the decorative appeal of your outside mount window shades or blinds, you may like to install a valance.
- Fix two valance clips, each at the opposite end of the headrail.
- Attach remaining clips evenly to the front of the headrail.
- Make sure that two parts of a valance clip snap together.
Contact 24/7 Live Chat for Further Help
If you face any difficulty in measuring for or installing your inside mount or outside mount blinds, shades, or other window treatments, you can use the 24/7 live chat option to get further help.
SHADES
Roman Shades Installation Instructions
Pleated Shades Installation Instructions
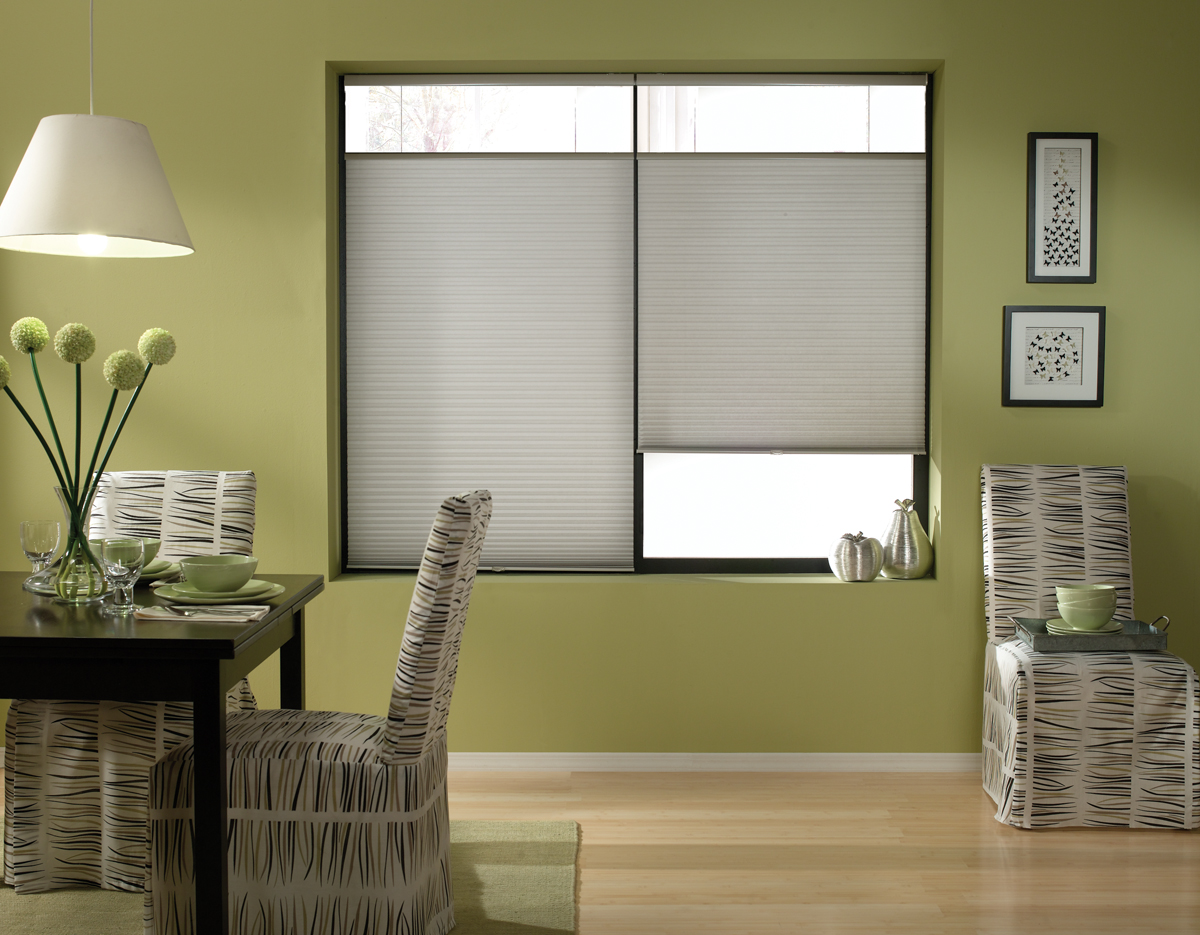
Cellular Shades Installation Instructions
- Cordless Cellular Shades Essential
- Top Down Bottom Up Cordless Cellular Shades Exquisite
- Double Cellular Light Filtering Shades Elite
- Blackout Cordless Cellular Shades Nightfall
- Blackout Top Down Bottom Up Cellular Shades Nightfall
- Day & Night Blackout Cordless Cellular Shades Eclipse
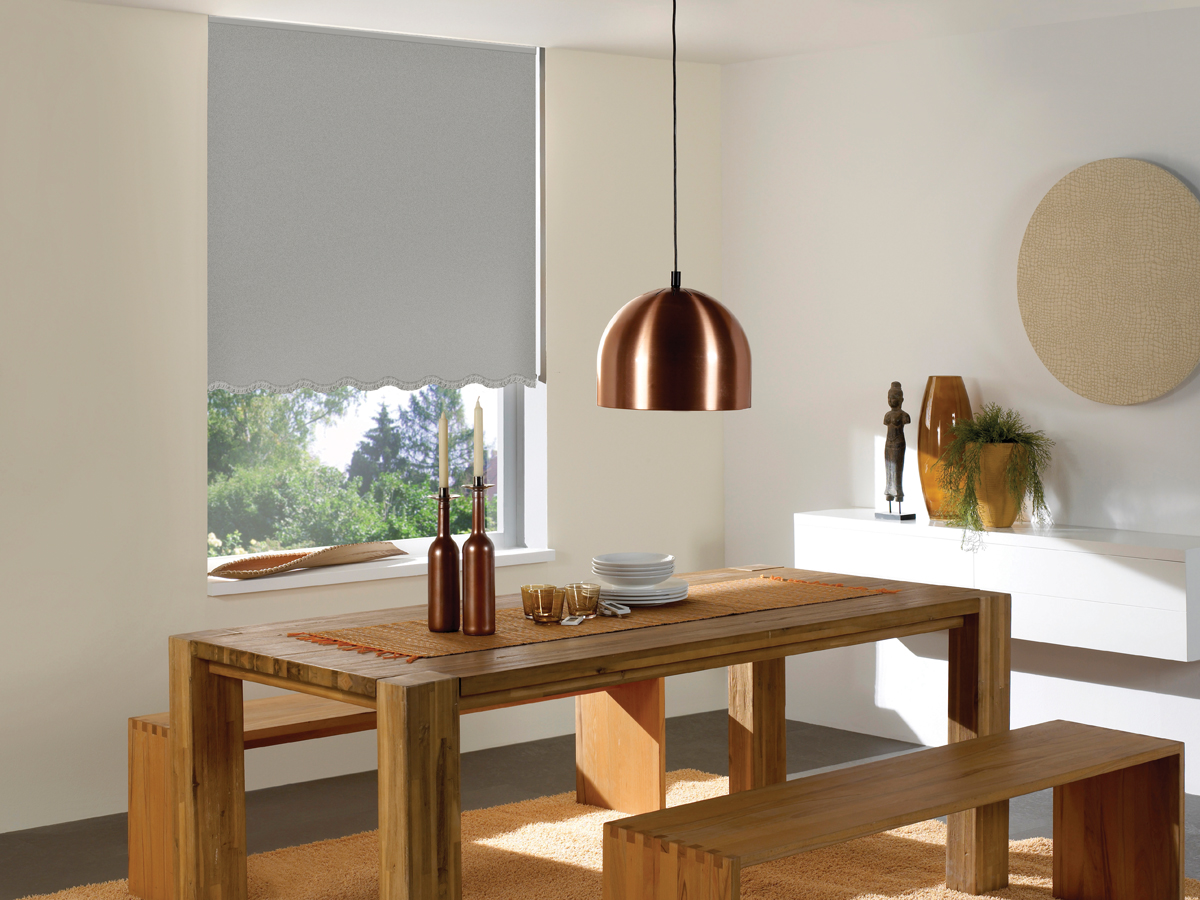
Roller Shades Installation Instructions
- Spring Motor Roller Shades
- Elite Roller Shades
- Continuous Chain Operation Roller Shades
- Zebra Roller Shades
- Cordless Zebra Roller Shades

Woven Wood Shades Installation Instructions
Solar Roller Shades Installation Instructions
Motorized Shades Installation Instructions
BLINDS

Faux Wood Blinds Installation Instructions
Mini Blinds Installation Instructions

